AWS Cognito: Unified Authentication for Mobile and Desktop Apps

Senior WebCoder
Introduction
In the modern application landscape, managing user identity is more than just a login form; it's a multi-stage lifecycle of security and access. AWS Cognito is a serverless authentication service that eliminates the need to manage complex databases or secure servers for user data.
By leveraging Cognito, developers can implement a highly secure "Registration to Authorization" flow that works seamlessly across mobile and desktop platforms.
The Step-by-Step Auth Lifecycle
To understand how Cognito works, let's break down the journey of a user from their first sign-up to accessing secure AWS resources like S3 or DynamoDB.
1. User Registration
The journey begins with Cognito User Pools. The user signs up via your application (mobile or desktop) by providing an email, username, and password. This data is stored securely in the User Pool directory.

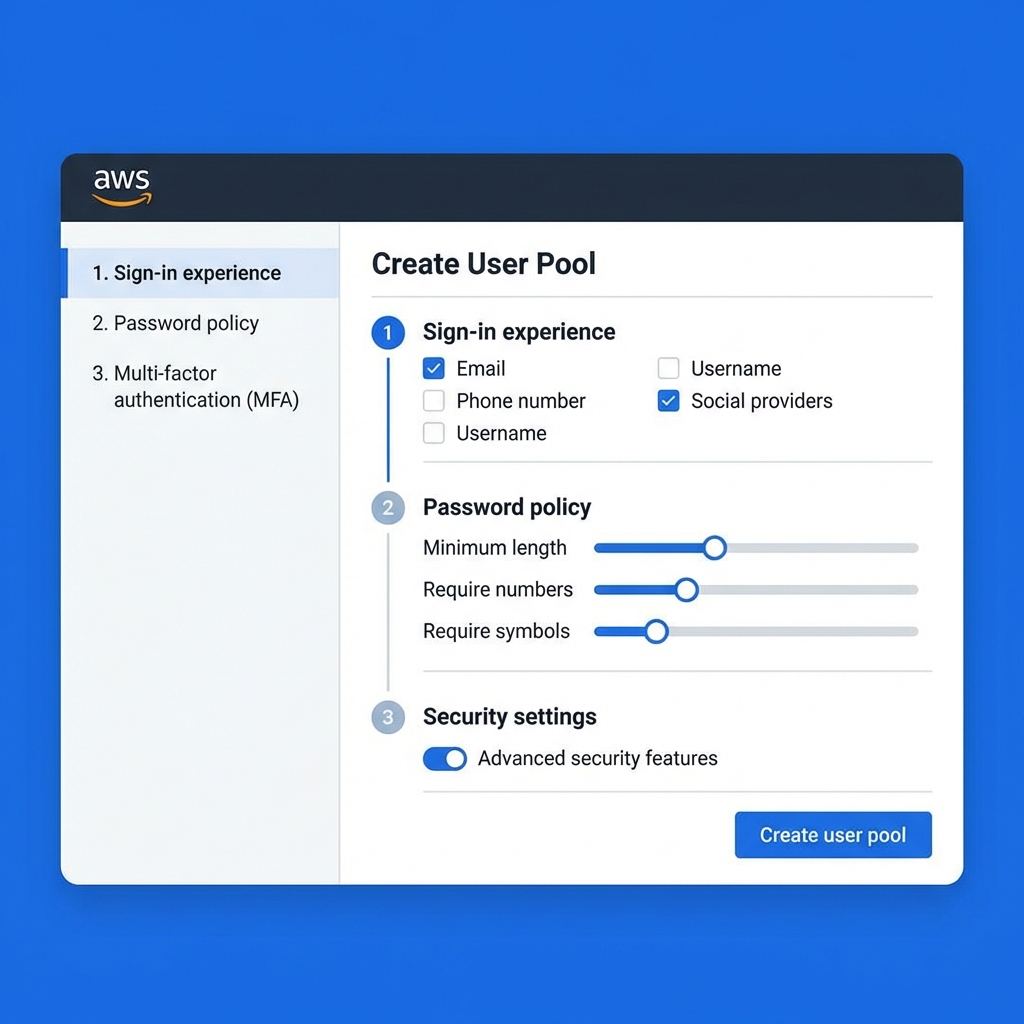
[!TIP] In the AWS Console, you can define password policies, required attributes, and multi-factor authentication (MFA) settings for your User Pool.

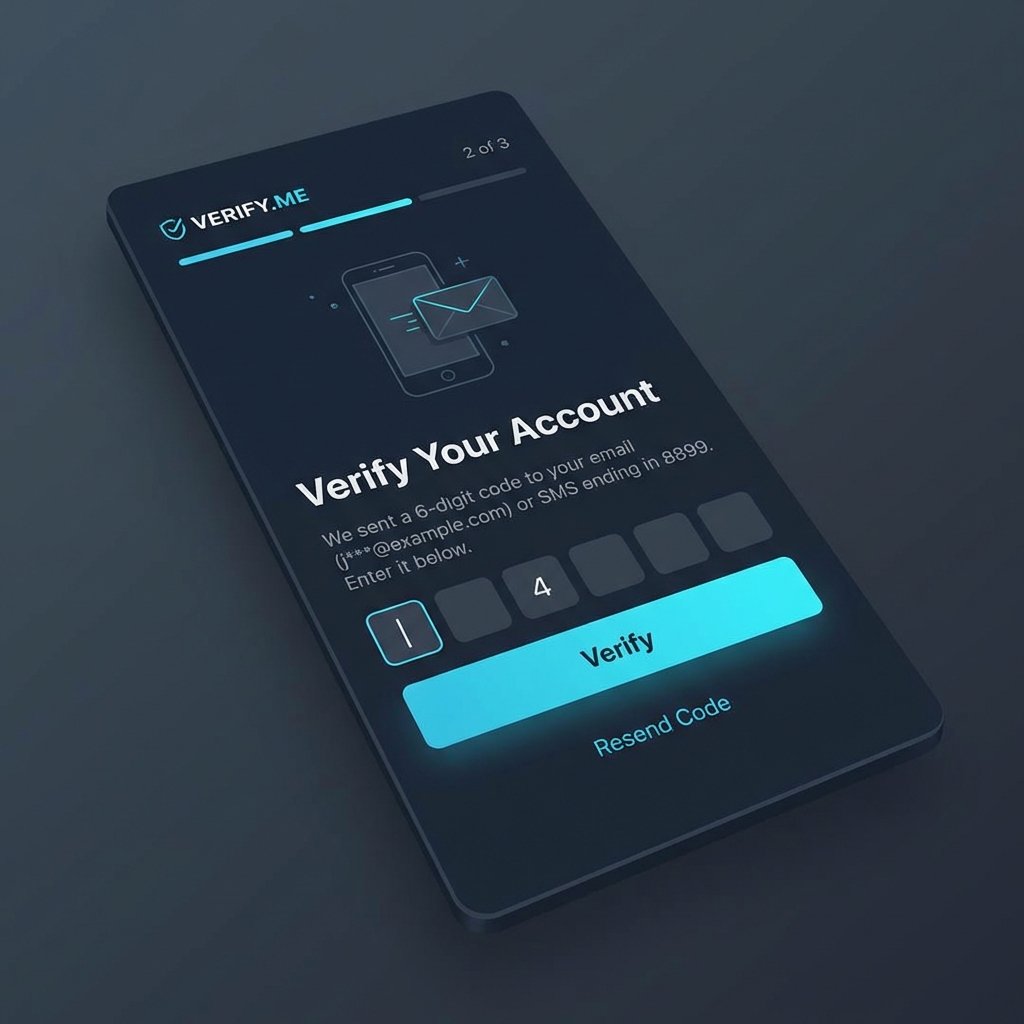
2. User Verification
Security is paramount. AWS Cognito automatically sends a verification code via email or SMS to the user. This ensures the user's identity is verified before they can gain any access to your system.
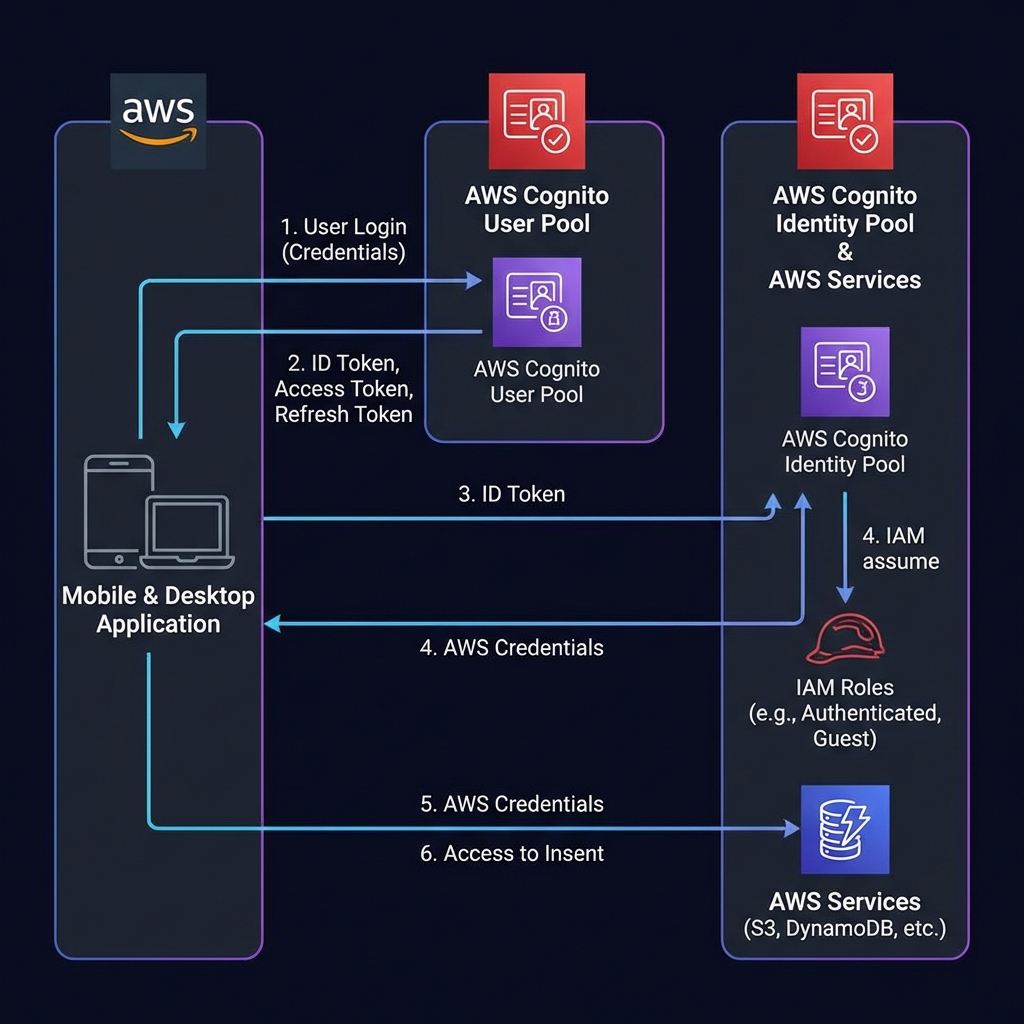
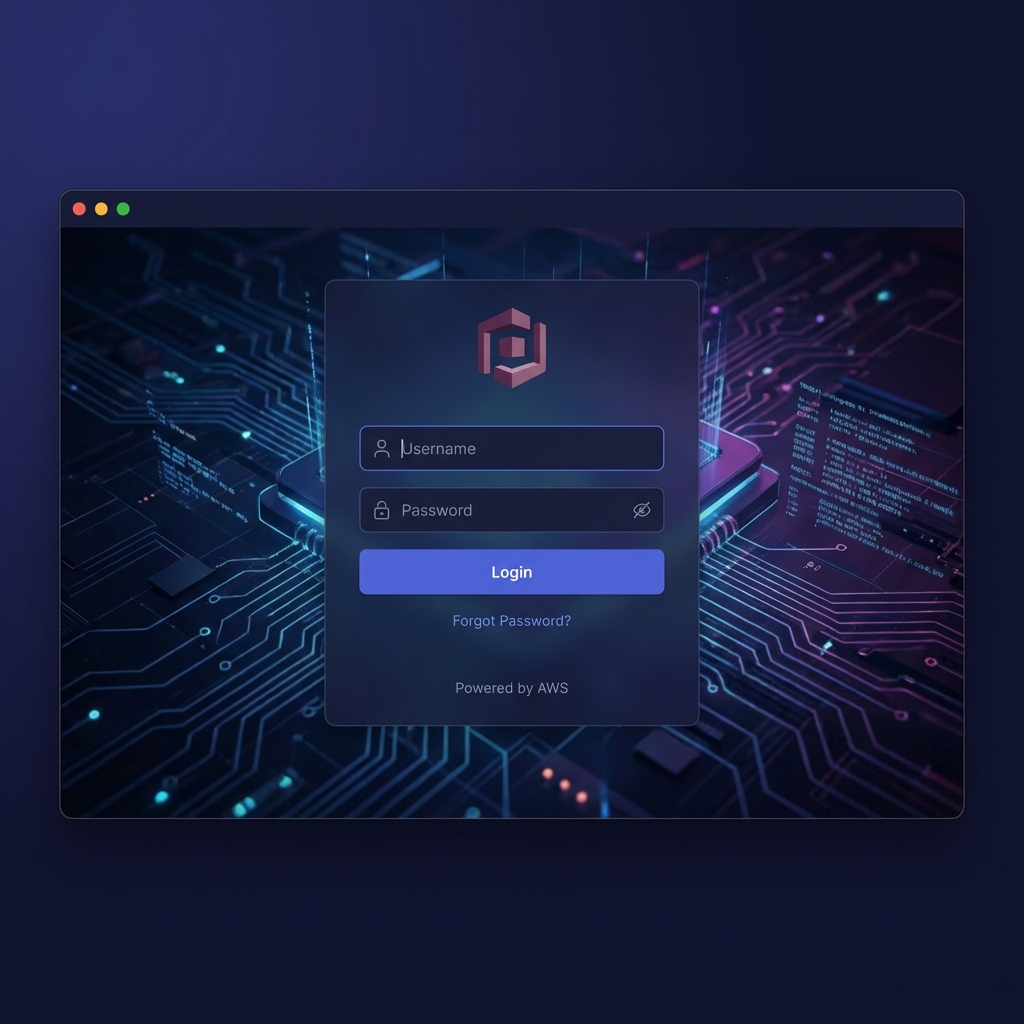
3. User Login (Authentication)
Once verified, the user logs in. The application sends the credentials to the User Pool, which validates them and returns a set of tokens:
- ID Token: Contains user identity information (claims).
- Access Token: Used for authorized API calls.
- Refresh Token: Used to obtain new tokens without re-prompting the user.
4. Temporary Credentials (Identity Pools)
After successful authentication, the application interacts with a Cognito Identity Pool. It exchanges the ID Token (or a token from a social provider like Google/Apple) for temporary AWS credentials.
In the AWS Backend, you configure the Identity Pool to trust your User Pool as an authentication provider. This is where you link your authenticated users to specific IAM roles.
[!NOTE] This is a crucial security step. Instead of hardcoding long-term secret keys in your app, Cognito provides short-lived credentials that expire automatically.
5. User Authorization & Access
With these temporary credentials, the user is authorized via IAM Roles.
- Authenticated Role: Defines what a logged-in user can do (e.g., upload to their own S3 folder).
- Unauthenticated (Guest) Role: Defines what a guest can do (e.g., view public content).
Finally, the user can now securely manage and access AWS resources according to the assigned IAM permissions.
Why Use This Approach for Mobile and Desktop?
Serverless and Scalable
There's no infrastructure to manage. Whether you have 100 users or 100 million, AWS Cognito scales automatically to handle the load.
Cross-Platform Security
- Mobile Integration: Use AWS Amplify or native SDKs to handle secure token storage in Keychains (iOS) or Keystore (Android).
- Desktop Deployment: Securely manage sessions in Electron or .NET apps using platform-specific secure storage, ensuring a consistent identity across all user devices.
Federation Made Easy
You aren't limited to just Cognito users. You can easily integrate social providers (Facebook, Amazon, Google, Apple) or enterprise providers (SAML/OIDC) into this same flow.
AWS Backend Configuration: Step-by-Step
Setting up the backend involves creating a User Pool for identity management and an Identity Pool for AWS resource authorization.
Step 1: Create a Cognito User Pool
- Sign in to the AWS Management Console and navigate to Cognito.
- Click Create user pool.
- Configure sign-in experience: Select Email as the sign-in attribute. Keep other settings as default for simplicity.
- Configure security requirements: Choose a password policy (e.g., minimum 8 characters, requiring symbols/numbers). Select No MFA if you're just starting, or Require MFA for production.
- Configure sign-up experience: Ensure Self-service sign-up is enabled.
- Configure message delivery: Choose Send email with Cognito for testing, or use Amazon SES for production.
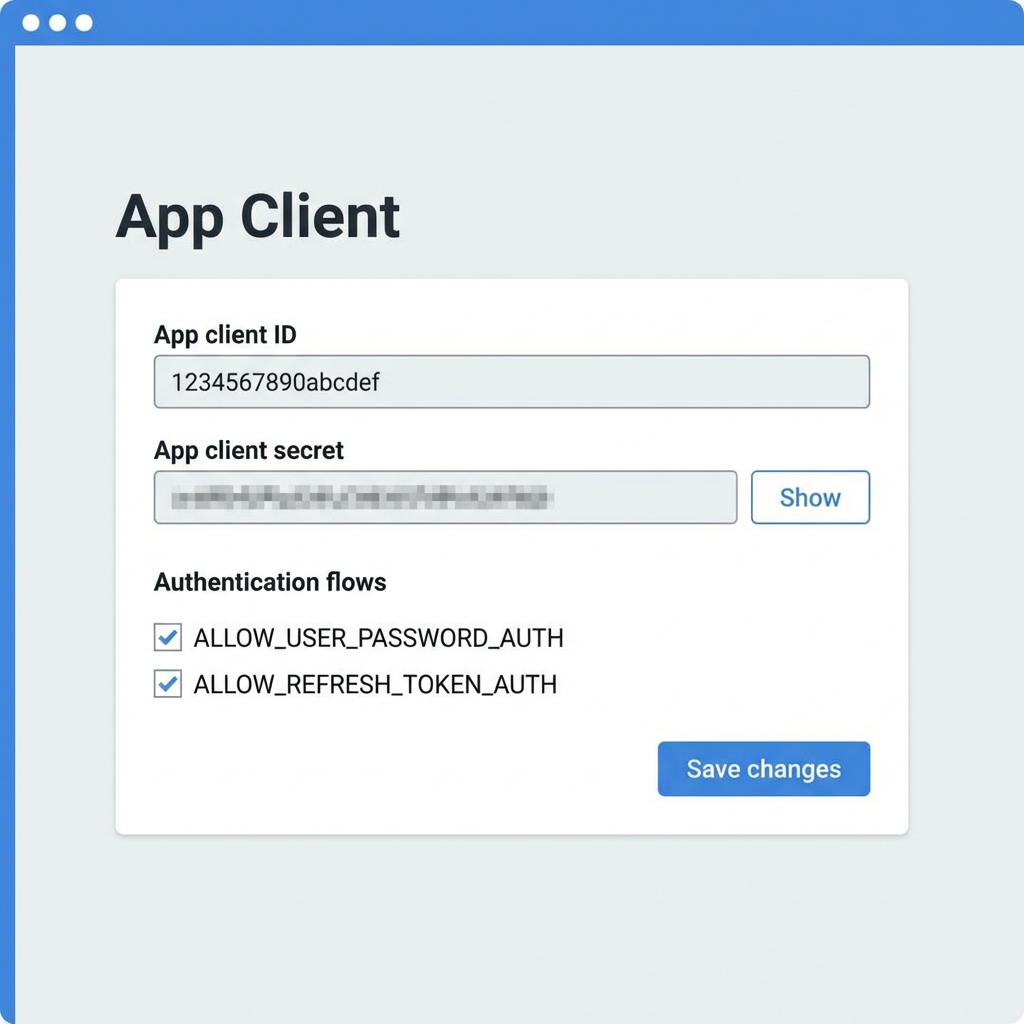
Step 2: Configure App Client
Within your User Pool settings:
- Navigate to the App integration tab.
- Scroll down to App clients and click Create app client.
- Give it a name (e.g.,
MyMobileAppClient). - Crucial: Disable the Generate client secret option if you are using the Web SDK (JavaScript), as secrets cannot be securely stored in client-side code. For backend-to-backend calls, keep it enabled.
- Note down the User Pool ID and App Client ID. You’ll need these in your frontend code.
Step 3: Set Up a Domain (Optional for Hosted UI)
- In the App integration tab, click Actions > Create Cognito domain.
- Enter a unique prefix. This allows you to use the built-in Cognito Hosted UI for login and registration without building custom screens.
Step 4: Create an Identity Pool
- Go back to the Cognito dashboard and select Identity pools.
- Click Create identity pool.
- Select Authenticated access.
- Under Authentication providers, select Cognito User Pool.
- Enter your User Pool ID and App Client ID from Step 2.
- Click Next and configure the IAM Roles.
- Authenticated role: Create a new role. You can attach policies to this role later to give users access to S3, DynamoDB, etc.
- Unauthenticated role: (Optional) For guest access.
Conclusion
AWS Cognito transforms the complex, high-risk task of authentication and authorization into a streamlined, serverless process. By following the registration-to-authorization lifecycle and completing the backend configuration, you ensure that your mobile and desktop applications are not only user-friendly but also built on industry-leading security standards.
Ready to offload your auth headaches to the cloud? The journey starts with a single User Pool.
Gokila Manickam
Senior WebCoder
Gokila Manickam is a Senior WebCoder at FUEiNT, contributing expert insights on technology, development, and digital strategy.